Ambush Skid House Assembly
How are Ambush Skid Houses made? We’ve got your answer! At Ambush, we have improved the skid house assembly process to provide you with quality products in the shortest amount of time possible.
Step 1: Design
To begin, the first step of skid house assembly is designing the skid house. Because the skid houses are conceived, designed, and built by ice fishermen, we know what we are looking for. But it’s not just us. We have talked to countless people so that we understand what’s important to our customers. Once we know the direction we are going and the features we are going to add, the design process can begin.
Step 2: Finalize Plans & Gather Materials
Once the skid house is designed, we finalize the plans and gather the materials. We order materials a year in advance to ensure we have everything to keep up with demand. By pre-ordering materials as we do, we save time, money and ensure that we will have a product to deliver, even during a pandemic. After all, there is no better activity for social distancing like ice fishing.
Step 3: Cut and Weld Aluminum Frame
Next, we cut the aluminum to size and weld it together. Experience welders start the process and the skid house starts to take shape. Our aluminum frame is strong, lightweight, and will not rust. The entire frame is fabricated and the skis are attached to the frame and the skid house moves to the next stage of production.
Step 4: Insulate & Laminate Wall Panels
When you think about it, this is probably one of the most important steps. You need to stay warm on these cold winter days and Ambush has perfected the skid house insulation process. Our skid houses are fully finished inside so you don’t see the insulation. The insulation is in the walls, much like you would see in your home. Another feature that sets Ambush apart is that we do not use spray insulation and leave it exposed. We insulate the openings in the aluminum with Styrofoam. Next, we laminate each wall, interior, and exterior, with a fiberglass skin. The walls are made from a Durabond Panel system, which provides additional insulation and prevents leaks.
Step 5: Router
Then, it is time to router out the window and door openings. If you get a standard ice fishing skid house, you get windows in the door and all of the walls. However, if you end up with a Darkhouse Spearing House, the entire interior is blacked out and the only window is located in the door. Once the openings are cut, it’s time to install the windows and the door. High quality materials leads to less fog, better insulation and easier to operate.
Step 6: Assemble
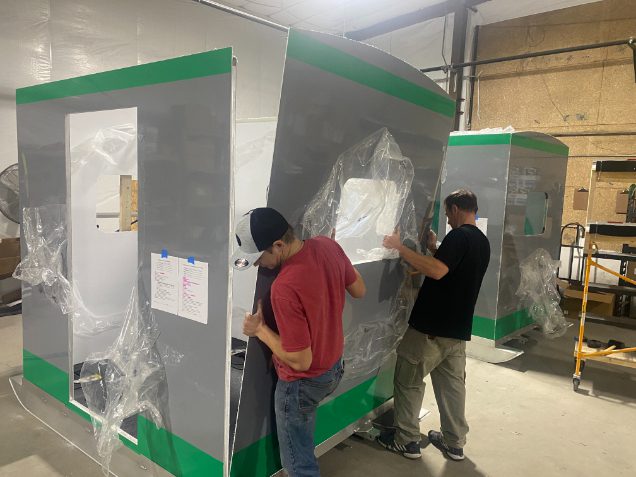
This is the part where we put all of the pieces together. The walls, the woodless floor covered in a slip-resistant material, the door, the roof, and any optional benches if the dealer ordered them.
Step 7: Install Accessories
Next, we install the accessories. Ambush Skid Houses have a huge selection of accessories. Everything from heaters and solar panels to cup holders, rod holders, light kits, or shelves.
Step 8: Final Details
By now the skid house is ready to go right? Not quite yet. We button up the skid house, apply the graphics package to the outside, add a serial number along with warranty information and perform a thorough cleaning to remove any manufacturing grit, grime, or dust. After a final quality inspection, the new skid house is ready to leave the factory.
Step 9: Ship to Dealer
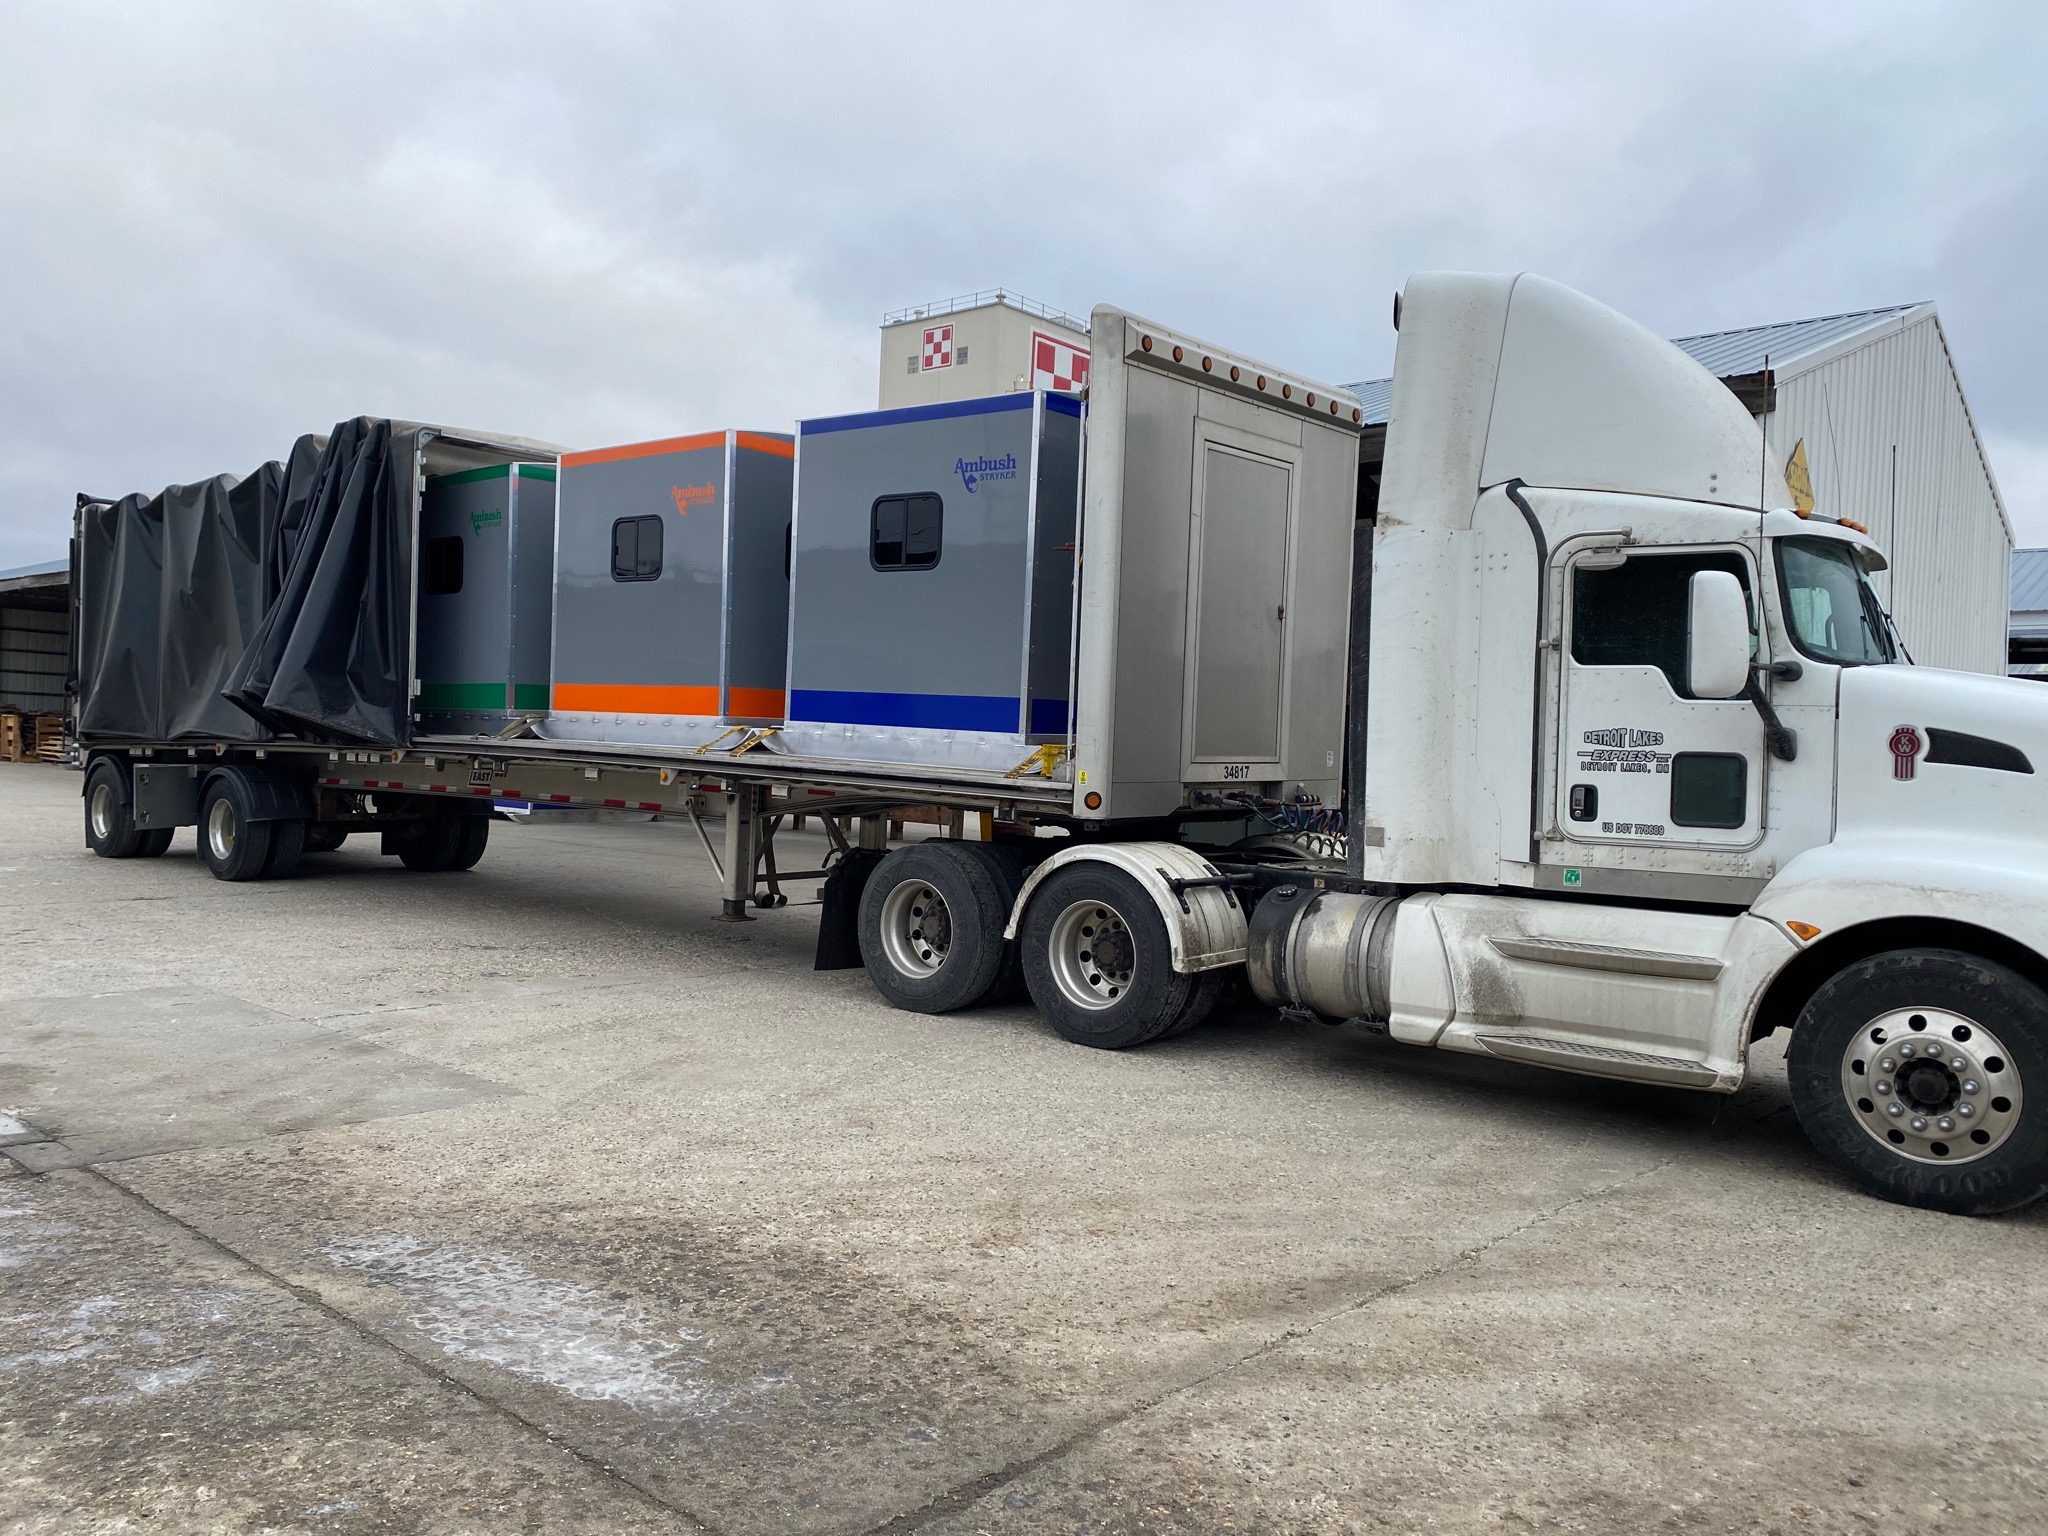
Finally, the last step is to ship the new Ambush Skid House to one of our expert dealers! To find an ice fishing skid house dealer near you, visit the dealer locator by clicking on the link in the menu above.
Now that you know the Ambush Skid House assembly process, it’s easy to see why Ambush Skid Houses are the best ice fishing shack.
How are Ambush Skid Houses made? We’ve got your answer! At Ambush, we have improved the skid house assembly process to provide you with quality products in the shortest amount of time possible.
Step 1: Design
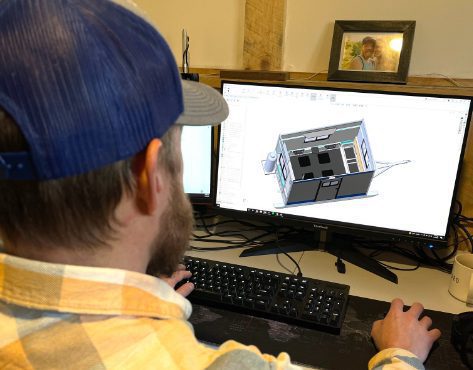 To begin, the first step of skid house assembly is designing the skid house.
Step 2: Finalize Plans & Gather Materials
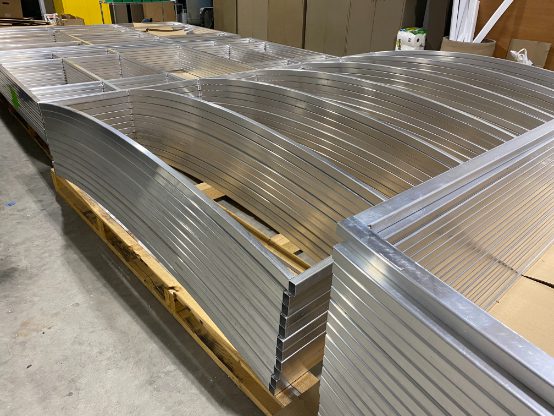 Once the skid house is designed, we finalize the plans and gather the materials.
Step 3: Cut and Weld Aluminum Frame
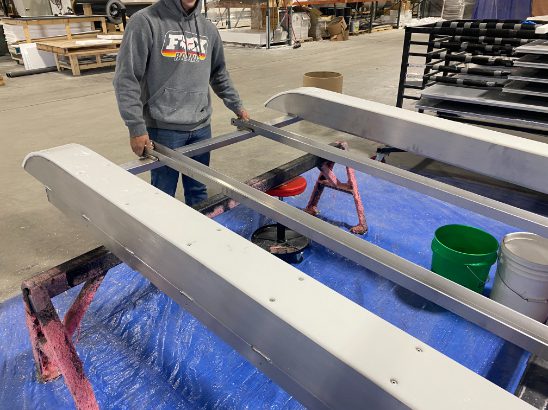
Next, we cut the aluminum to size and weld it together. This aluminum frame is strong, lightweight, and will not rust. Also, we weld the aluminum skis together and onto the frame.
Step 4: Insulate
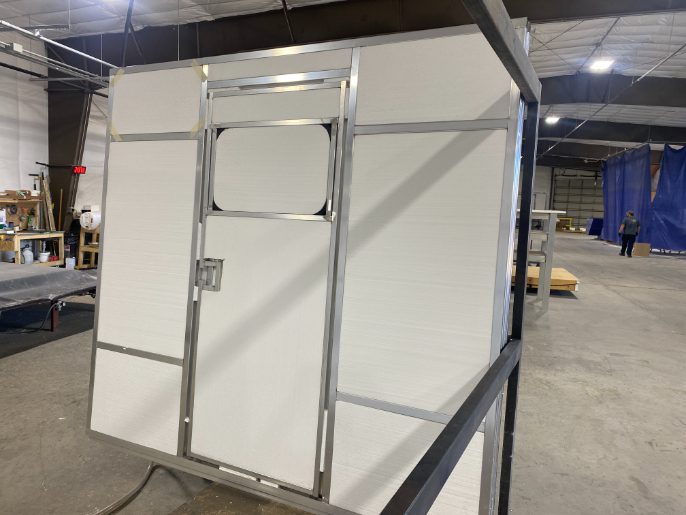
Now, we insulate the openings in the aluminum with Styrofoam.
Step 5: Laminate Wall Panels
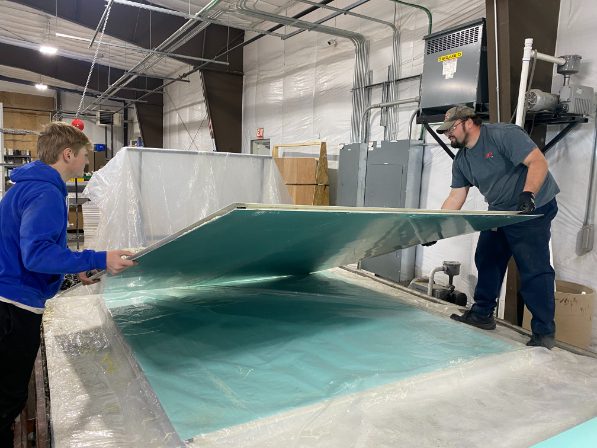
Next, we laminate each wall, interior and exterior, with a fiberglass skin. The walls are made from a Durabond Panel system, which insulates and prevents leaks.
Step 6: Router
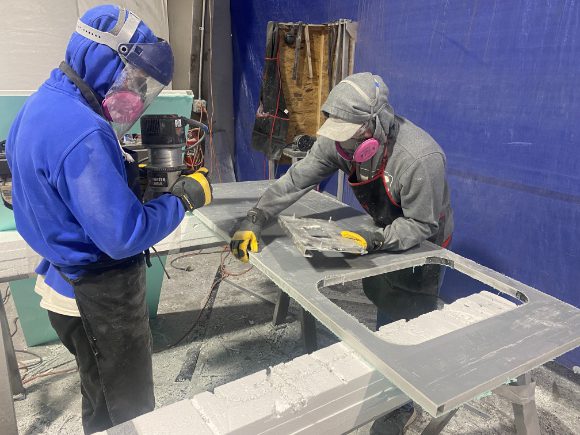
Then, it is time to router out the window and door openings.
Step 7: Assemble
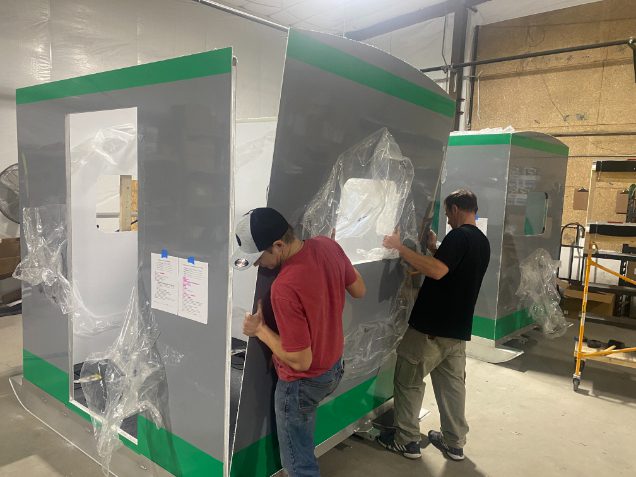
Now, we assemble all of the pieces. First, we mount a slip-resistant floor to the chassis, then the walls, and finally a roof.
Step 8: Install Accessories
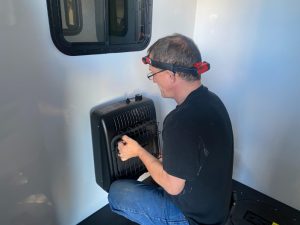
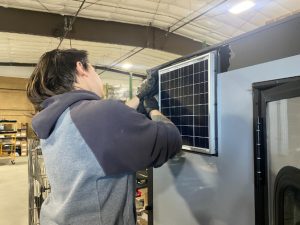
Next, we install accessories into the skid house like a heater, rod holder, or benches.
Step 9: Final Details
The skid house is almost complete! We button up the skid house with a quick clean to remove any grime or dust. Also, we add a product number onto the skid house along with warranty information.
Step 10: Ship to Dealer
Finally, the last step of the Ambush Skid House assembly process is loading it onto a semi and shipping it to one of our expert dealers! You can purchase a skid house through a dealer.
Now that you know the Ambush Skid House assembly process, check out why Ambush Skid Houses are the best ice fishing shack.


