How to Correctly Drill Holes for Ice Fishing
Are you new to ice fishing? If so, then knowing how to properly drill holes in the ice is an important first step. You must get to the fish somehow, right? Learning the correct way will help ensure a safe and successful fishing trip. But how do you go about correctly drilling your ice fishing holes?
We’ll go step-by-step and explore the best techniques and equipment for drilling holes in the ice, so you can make the most of your time on the frozen lake. Whether you are using a hand or power auger, these tips will help you get through the ice quickly and efficiently, so you can get your line in the water ASAP. Unlike in the old days, you won’t even need a chainsaw.
Scout Your Ice Fishing Site Before the Ice Forms
Scouting your ice fishing site early pays dividends after the ice forms. Knowing the underwater layout, such as the locations of deep pools, natural shelters, and rock beds will give you an understanding of which areas hold fish in greater numbers. It will also keep you out of undesirable areas with an overabundance of stumps, weeds, and such.
Not only is scouting early beneficial for raking in the fish, but it can also help you avoid unsafe ice, too. Areas of faster-moving water, such as inlets where rivers or creeks flow in, don’t freeze as hard or thick. Use your GPS or app to mark these locations so you can avoid them. Pay attention to the spots where you’ll fish, but also the areas that will make up your route to those locations.
Instead of being a shot in the dark, scouting early will allow you to better target where you want to drop your line once winter sets in. Make your life easier by doing a little more work on the front end. You’ll be glad you did.
Testing the Ice and Other Safety Concerns
Ice safety is a crucial consideration for all wintertime recreationists, including ice fishers, skating enthusiasts, and snowmobilers.
Before you venture out onto the ice or even consider ice fishing, it’s important to understand ice thickness guidelines and ice testing methodology that can help keep you safe. If you’re ever in doubt, Farmers Almanac provides a great comprehensive ice thickness guide going all the way up to large trucks.
Ice should be at least 4 inches thick before going onto it; 8-12 inches is needed for snowmobiles, and 5-7 inches is recommended for groups of ice fishers.
Testing a Safe Path
To test the ice before venturing onto it, experts recommend using an ice chisel (also known as a spud), or auger to drill holes into the ice to measure its thickness.
If this is an initial test on the first good freeze of the year, you can do a quick assessment by using your spud. As you make your way out, you’ll spear the spud stick into the ice with every step. But you want to spear the ice in front of you, not directly under where you’re walking. Look for water welling up in the hole.
Since everyone is different, you’ll have to learn the depth you punch into the ice with your thrust. Experienced anglers know the rough depth they’ve gone into the ice with one jab of the spud. For example, if you know that one jab into the ice goes about two inches deep, then you have a reference.
If you’re walking along and you thrust the spud into the ice, then water starts filling it, it’s reasonable to assume the ice is only about two inches thick there. You can also use a measuring tape to check ice thickness.
Once you’ve laid out a safe initial path to a spot, you can either go back and drill test holes with an auger to verify ice thickness or run the auger and verify as you go. Make sure to wear your life jacket or other PFD and carry ice claws or pic while you’re testing. The importance of these safety items cannot be understated. If you’re not sure what to do if you fall through the ice, check out this post!
Choose an Ice Fishing Auger Style and Appropriate Bit Size for Drilling
Before you start drilling your ice hole, you must first consider the size of the fish you are trying to catch and adjust the size of the hole accordingly. You’ll typically be shooting for a diameter range of six to ten inches.
There are two general styles you can choose from–manual hand augers and power drill augers. Simple, inexpensive, and lighter, manual augers come equipped with a hand crank which takes more energy than a motorized model. However, they do the job well without any electronics or engines breaking down. The biggest drawback of hand augers is that they may not be able to cut through ice over 10- inches thick.
Power drill augers have high torque motors that make quick work of drilling even through thick layers of ice, giving anglers ample time to enjoy their favorite winter sport. However, the power drill augers are heavier.
It’s not a bad idea to carry both in your repertoire of ice fishing tools. Regardless of whether you use manual or powered, both auger styles require sharp blades with a diameter large enough to cut the desired size fishing holes.
Ice Hole Drilling Procedure
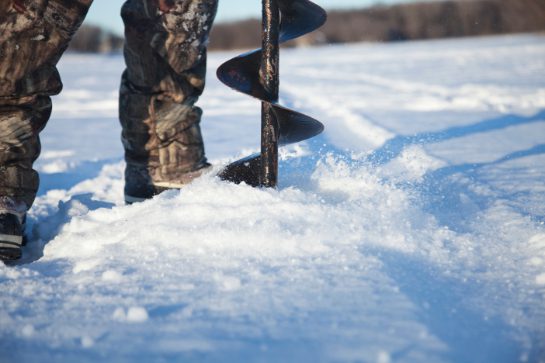
Once you’ve determined the ice is thick enough and chosen the appropriately sized bit, it’s time to drill the ice hole. If you’re using a manual auger, make life easier and shovel away any loose snow.
Then, firmly plant your feet and stand with your weight over the auger and start cutting through the ice. If the ice is thick, stop part-way through, remove the auger, and clear the ice shavings. Return the auger to the hole and continue cutting until you’ve hit water. Use a slotted scoop or shovel to clear away the slush and debris from around the water after the drilling is finished.
A quick note about drilling for ice spearfishing:
If you plan on spearing trout, you’ll need a bigger hole. The size will depend on what type of shanty you’ll be using, but a 3×4 foot or 4×8 foot rectangle cut is common. In this scenario, you’ll use your auger to cut four to six holes to outline your rectangle. Then use an ice saw to cut through each one, connecting the drilled hole. Once you cut around the entire perimeter, you’ll then cut the free piece into a few smaller pieces and remove those using your ice tongs.
Place Your Ice Fishing Skid House
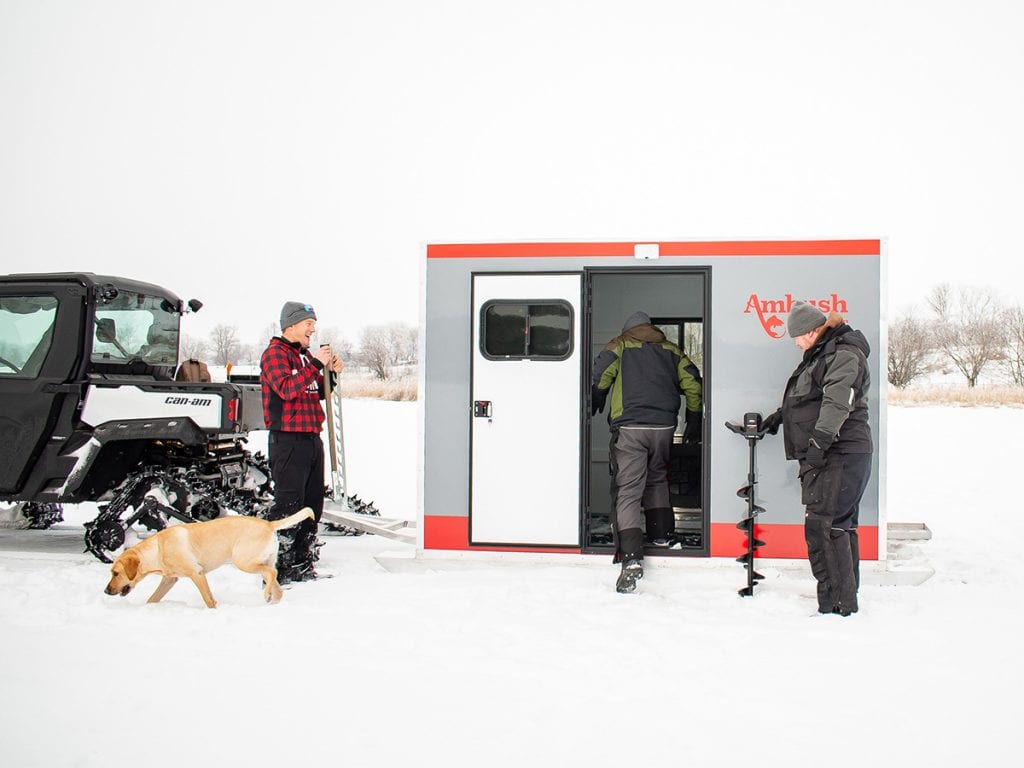
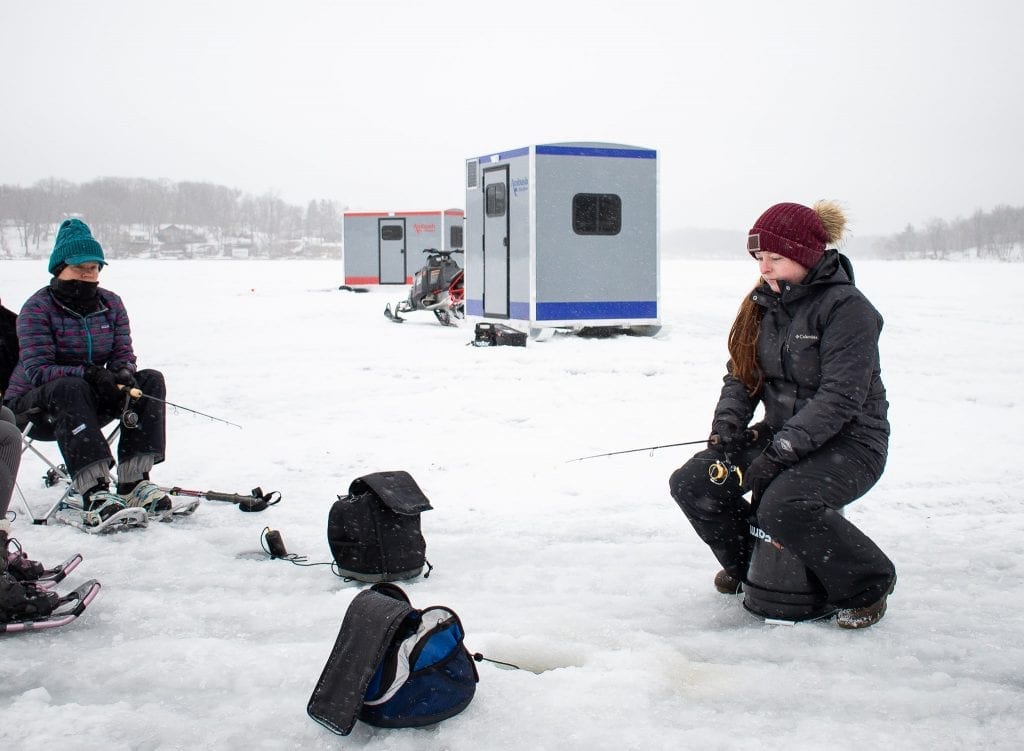
Once you’ve thoroughly tested the ice thickness and found a fishing location you would like to stay at for a little while, move your skid house into position and drill the holes you would like to fish in the skid house. If you are spearing, sometimes it is easiest to cut the hole outside the skid house, then slide the skid house over the hole. Just be sure not to cut a hole much larger than the opening in the skid house floor so the skid house can slide over.
Improve your Ice Fishing Experience
Ice fishing skid houses or shanties–also called huts or pop-up fish shacks–can be a great way to improve your fishing experience in the winter. With several styles to choose from, a skid house can provide shelter from cold winds while giving you ample space to store all your fishing gear.
Spear Fishing
If you’re looking to switch it up and try out catching trout with a spear, having an ice fishing skid house means you’ll stay warm and dry. With a larger hole increasing the likelihood you’ll be seen; a darkhouse will darken your surroundings. This will help keep trout from spooking. Investing in a darkhouse skid house could transform your winter fishing experience..
Safety is Priority
Correctly drilling your ice fishing holes doesn’t have to be an Iron Man competition. But, it’s important that you do it right and take the necessary safety precautions. Safety is Priority #1 on the ice. Before making your way out onto the frozen lake, make sure to wear a life jacket or other PFD and carry ice claws or ice pick–these are essential for staying safe while out on the ice. Once you’ve tested the ice, moved your skid house into place, and , drilled your holes the only thing left to do is fish! Good luck out there.


